Since you guys were interested.. and I love ya'll so much here is the Kindle Cover Tutorial I promised.
How to Make a Kindle Cover
Supplies Needed:
1/4 Yard of Fabric I used 100% cotton
1/4 Yard of Fusible interfacing
1/4 Yard of Felt for lining
Velcro
Sewing machine, thread and other notions
The size of the Kindle is 7
1/2 inches tall by 4
7/8 inches wide. I know that this cover will fit the Kindle I do not know about any other e-reader devices. This is for what they consider the 3rd generation Kindle. 3G Kindle purchased in May of 2011.
 |
| Supplies |
Cut the following :
The case
2 pieces of the cotton fabric 9.75 inches x 7 inches
2 pieces of fusible interfacing 9.75 inches x 7 inches
2 pieces of felt for lining 9.75 inches x 7 inches
The pocket
1 piece of the cotton fabric 5.5 inches x 7 inches
1 piece of fusible interfacing 5.5 inches x 7 inches
1 piece of felt lining for pocket 5.5 inches x 7 inches
The Tab Closure
1 piece of cotton fabric 5 inches x 3.5 inches
1 piece of fusible interfacing 5 inches x 3.5 inches
1 piece of felt 5.5 inches x 3.5 inches
You could iron on the fusible interfacing first then cut it at the same time with the fabric (my rotary blade is a little dull so I cut each piece at a time)
Then iron the fusible interfacing on back (or wrong side) each piece of the cotton fabric.
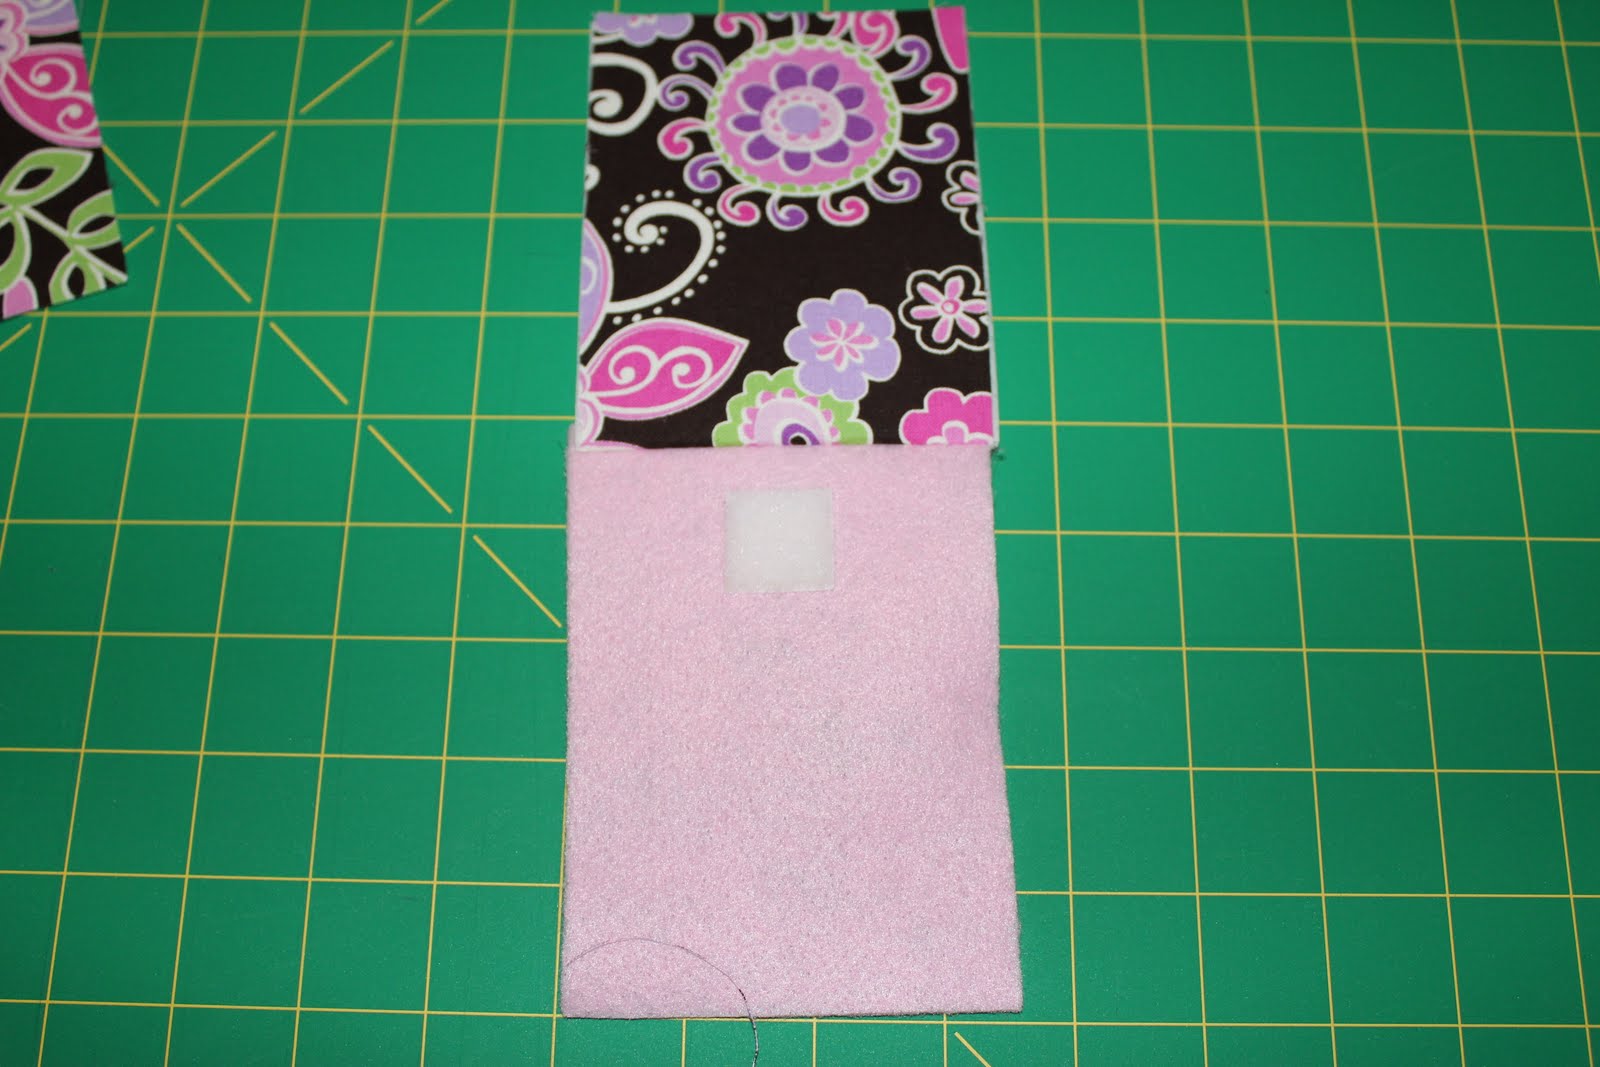
Start with the smallest piece of felt and fabric for the tab closure first. I pin the 5.5inch x 3.5 inch piece of felt to the front or right side of the fabric with the interfacing ironed on it
Here is where I tell you that I am not a great seamstress so I sew with half inch seams. Every seam in the rest of this tutorial is .5 or half inch.
I sew only one of the shortest 3.5 inch sides on the tab. Sewing the felt and fabric with the interfacing together. I then open that seam fold the wrong sides of the tab together and press the cotton side to make a nice sharp seam. FYI if you are using synthetic felt please DO NOT iron the felt side unless you have your iron on the lowest setting. The felt will melt!!! (ask me how I know). Unfold and place the soft side of the Velcro about a half inch down on the felt from the seam I just created and sew it in place. Only sew the Velcro on the felt DO NOT sew through the fabric.
Fold the right sides of the tab back together and sew down both long sides. You will now just have the bottom of the tab open. Turn the tab right out I use a pencil to make sure to push the corners out well. I then press it again.
Set the tab aside we are going to work on the pocket now.
Pin the right sides of the 5.5 inches x 7 inches fabric and felt together.
Sew down one of the long 7 inch sides of the fabric. Sewing the felt and the fabric with interfacing together. Fold open placing the wrong sides together and press the seam well. I like to go back and top stitch over the seam just created just to make it a little nicer looking.
Now take one of the pieces of 9.75 x 7 inch pieces of fabric. This will be the back of your case. Position your pocket at the bottom of this piece of fabric line the edges up at the bottom of the fabric the seam that you created on the pocket will be almost center of the piece of back fabric. Pin together and baste the 3 unseamed edges or the two sides and the bottom of the pocket onto the back piece of fabric.
Now center your tab at the top of this piece of fabric with the pocket basted on it. You line up the open edge of the tab with the top of this piece of fabric with the felt / Velcro facing upwards.
Now pin one of your 9.75 x 7 inch pieces of felt on top of this.
Sew a seam along the top edge of the fabric and felt, this will catch the tab in the seam of your back piece of fabric. This will be the top of the back of your case. Fold the seam open and the wrong sides together press and top stitch.
Moving along to the front of the case. Pin the second 9.75 x 7 inch piece of felt to the right side of the piece of 9.75 x 7 inch fabric that will be your case front.
Sew a seam along one of the short edges sewing the felt and fabric together. Fold open the seam press and top stitch. This will be the top of the front of the case. I lined up both the front piece and the back piece of the case and decided where I wanted the rough piece of Velcro should be located on the front piece of the case.
Stitch on the rough side of the Velcro to the front of the case. Only stitch though the fabric and the interfacing do not stitch through the felt.
Now unfold the fabric and the felt and line up the right sides of the fabric and pin together. Note that the felt pieces are together out the top.
Sew together the long sides and the bottom of the interfaced fabric pieces. DO NOT sew across the top where the felt is attached.
Now sew together the two long sides of the felt. DO NOT sew together either of the short sides of the felt. The bottom will be left open to turn everything right side out.
Turn the case right side out
I went back here and sewed a seam across the bottom of the felt just so it would not be left open. I trimmed it up a little so it wouldn't be too bulky in the bottom of the case. Turn the felt inside the case to make the lining. Press the whole case with lots steam so it will look really sharp and nice. Insert Kindle and you are ready to go!!!
Please let me know if you have any problems..
If you use this tutorial and aren't a follower of my blog please click the link to the right and follow me!
Blog content & images are property of Sherry Lovelady. Images & patterns are for personal, non-commercial use only. Please do not take images from this site without permission. If interested in making more than 3 of these please contact me to purchase licensing permissions.
Linking To